
You can beat Kuldra solo by treating the encounter as an objective sequence rather than a conventional damage race. Complete three arena phases by siphoning anima, carrying elemental charges, making orbs, activating pillars and firing the cannon. After Kuldra falls asleep, descend into her and destroy the heart from the tunnel with a staff and fire spells.
The most important solo limitation is that a correct action performed out of order can still waste time or force extra combat. Preserve the required dragon in Phase 3, finish every pillar interaction before producing the two cannon orbs, and do not walk fully into the final heart chamber.
Solo route at a glance
| Phase | Required sequence | Phase transition |
|---|---|---|
| 1 | Earth vent, orb creator, blue dragon, water pillar, two cannon orbs | Enter Zilyana's ring |
| 2 | Red dragon, fire gate, air charge, pillar, two cannon orbs | Enter Zilyana's ring |
| 3 | Vent charge, gate orb, water dragon, gate pillar, red dragon, inner pillar, two cannon orbs | Cross the bridge and enter Kuldra |
| 4 | Stop in the tunnel and attack the glowing heart with fire spells | Remain still after the heart dies |
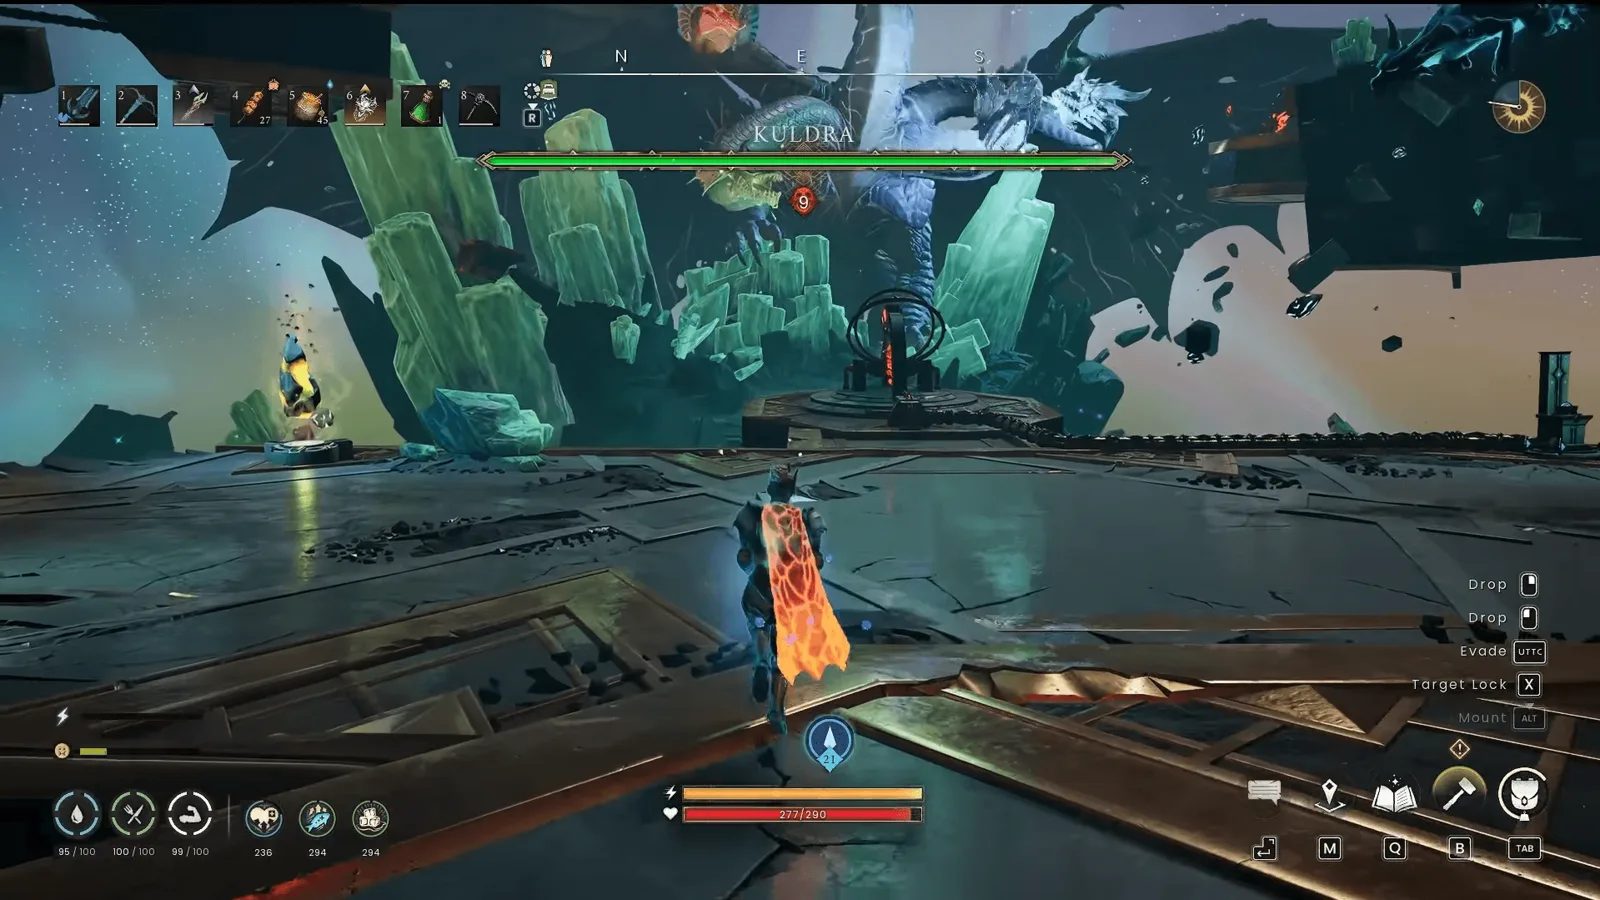
The arena layout and green crystal cover used during the Kuldra encounter.
The opening three phases are about operating the arena while surviving Kuldra and the summoned dragons. Your weapon damage is useful for clearing the elemental dragons, but the cannon is what advances these phases. The final phase changes the objective: Kuldra's exposed heart becomes the target, and ranged fire magic lets you attack it without committing to the chamber.
Prepare for the solo sequence
Bring a staff and the ability to cast fire spells. Keep them ready for the last phase even if you use another combat style against the dragons. The documented final-heart method depends on reaching the target from the tunnel and attacking at range.
Before beginning, remember how the arena's interactions fit together:
- An anima vent gives you a charge without requiring a dragon kill.
- An elemental dragon can provide the charge needed for a matching objective.
- The orb creator converts a carried charge into an orb.
- Some pillars and gates require a charge, an orb, or both in a fixed sequence.
- Cannon orbs are loaded and fired to damage Kuldra during the first three phases.
- Zilyana's ring is the transition point after the first and second cannon phases.
Do not produce extra orbs merely because the orb creator is available. Each phase has required gates and pillars that must be handled first. Following the interaction order also reduces the number of dragons you need to fight alone.
A Dragon Scimitar or crossbow may provide a useful optimization. When its Dragon damage bonus is applied to the cannon, the displayed shot damage can rise from 9,999 to 11,499, reducing a six-shot cannon phase to five shots. Treat that as optional margin rather than a requirement. The route below uses the dependable two-orb sequence, so it still works when the bonus does not apply.
Phase 1: activate the water pillar and fire two orbs
Start by running to the Earth anima vent on the left side of the arena. Siphon it while Kuldra is charging her large beam. When the beam fires, either dodge it or put the green crystal between your character and the attack. Once you have the Earth charge, take it to the orb creator and charge the device.
Then complete the phase in this order:
- Kill the blue dragon that spawns.
- Use the resulting water energy on the pillar on the right side of the arena.
- Collect the orb prepared with the earlier Earth charge.
- Load that orb into the cannon and fire three times.
- Kill one more blue dragon.
- Use the new charge to make another orb.
- Load the second orb and fire another three times.
- When Zilyana appears, move into her ring to begin Phase 2.
The common solo error here is mixing up the first orb and the water-pillar objective. The Earth charge prepares the orb, while the first blue dragon supplies the water energy for the right-side pillar. Finish the pillar before settling into the cannon sequence.
The green crystal is the clear answer to poor beam timing. If you are already beside it, use it as cover instead of attempting a late crossing through the open arena. If you are away from it, prioritize avoiding the beam over completing an interaction; an unfinished siphon or device interaction can be attempted again, while standing in the beam only makes the solo run harder.
Phase 2: open the fire gate and prepare the air route
Phase 2 begins with a gate objective. Kill one red dragon and carry its fire energy to the pillar beside the gate. Charge that pillar to open the route.
Next, obtain the charge for the first orb. You can siphon the air vent or kill another red dragon, but the vent is the cleaner solo option because it avoids an unnecessary fight. Use the charge to make one orb, then place that orb into the required pillar.
Return to the air vent and siphon another charge. Use it to complete the pillar's next charge interaction. Do not start the final cannon cycle until the cannon becomes available; that availability confirms that the gate-and-pillar sequence is complete.
Once the cannon is ready, make and fire two more orbs. You can gain the required charges from dragons or return to the air vent. The air-vent route is particularly useful alone: the documented position keeps you outside the cannon's danger and beyond the dragon's reach while you charge. It replaces extra combat with a repeatable movement loop:
- Siphon the air vent.
- Carry the charge to the orb creator.
- Make an orb.
- Load and fire the orb from the cannon.
- Repeat for the second orb.
- Move to Zilyana when she reappears.
- Stand in her ring to enter Phase 3.
Do not confuse the orb used in the pillar sequence with the two orbs fired afterward. The pillar orb unlocks progression within the arena; the later pair supplies the cannon damage that ends the phase.
Phase 3: preserve the blue dragon until the gate orb is placed
Phase 3 punishes an automatic kill-everything approach. A blue dragon is present, but do not kill it immediately. You first need a non-dragon vent charge for the orb beside the large gate.
Follow this exact order:
- Siphon the available vent.
- Carry that charge to the orb creator and make an orb.
- Insert the orb into the pillar beside the large gate.
- Only now kill the water-aligned blue dragon.
- Carry its water charge to the orb pillar and power it to open the gate.
- Kill the red dragon.
- Pass through the open gate with the fire charge.
- Use that charge on the pillar beyond the gate.
- Make and fire two more cannon orbs using vent charges or dragon charges.
This order prevents the blue dragon's water energy from being spent before the gate pillar is ready to receive it. If you kill the dragon too early, you complicate the clean sequence that the solo route is designed around.
For the final two orbs, choose the safer source available to you. When using dragons, the area beside the orb creator can be used to keep them at a safer distance. Because the orb creator is already beside you, a newly acquired charge can be deposited immediately rather than carried across the arena under pressure.
After the second cannon-orb cycle, Kuldra falls asleep and a bridge appears leading to the lower level. Cross the bridge, descend, and use the Enter interaction on Kuldra. That interaction begins the final internal phase; it is not another cannon round.
Phase 4: destroy Kuldra's heart from the tunnel
Run down the tunnel, but do not enter the final chamber. Slow down as the glowing heart comes into view. Advance only until the heart sits in your crosshairs, then stop and switch to your staff and fire spells.
Attack the heart from this position. Its health bar may remain hidden at long range, but your attacks can still damage it. A visible health bar means you have moved closer; that does not invalidate the attempt, but the tunnel position is the safer solo setup.
Expect a poison blob to approach roughly every 20 seconds. Move out of its path, regain your firing position and continue casting at the heart. Do not let the missing health bar tempt you into walking deeper into the room. Judge the method by whether your fire attacks are connecting, not by whether the interface has revealed the bar.
Once the heart dies, stop moving. Remaining still allows the encounter to teleport you back to Zilyana for the reward sequence. Running around after the kill adds no required step and can make the ending less clear.
Solo failure points and corrections
| Problem | Likely cause | Correction |
|---|---|---|
| Phase 1 is not advancing | The water pillar or one of the two cannon orbs is unfinished | Confirm the right-side pillar is powered, then complete both three-shot orb cycles |
| The Phase 2 cannon is unavailable | The gate and pillar sequence is incomplete | Open the gate with fire, insert the first orb, then return with an air-vent charge for the pillar |
| Phase 2 has too much combat pressure | Charges are being obtained through repeated dragon kills | Use the air vent for the repeatable orb loop |
| The large gate in Phase 3 remains closed | The preliminary orb or the water charge was used out of order | Place the vent-made orb first, then kill the blue dragon and apply its water charge |
| The inner Phase 3 pillar is inactive | The red dragon's fire charge has not been carried through the gate | Kill the red dragon after the gate opens, pass through and power the inner pillar |
| The heart appears to take no damage | Its health bar is hidden at long range | Keep the heart in the crosshairs and continue using staff-based fire spells |
| The final chamber becomes dangerous | You walked past the tunnel firing position | Pull back until you can attack from the approach and move aside for poison blobs |
| Nothing happens after the heart dies | You are still moving or looking for another interaction | Stand still and wait for the teleport to Zilyana |
Condensed solo checklist
Use this abbreviated sequence once you understand the arena:
- Phase 1: Earth vent to orb creator; blue dragon to water pillar; first orb for three cannon shots; second blue dragon to another orb; three more shots; enter Zilyana's ring.
- Phase 2: Red dragon to fire gate; air charge to first orb and pillar; another air charge to finish the pillar; make and fire two cannon orbs; enter Zilyana's ring.
- Phase 3: Vent charge to orb and large-gate pillar; blue dragon to water charge and gate; red dragon to the pillar beyond the gate; make and fire two cannon orbs; cross the bridge and enter Kuldra.
- Phase 4: Stop in the tunnel when the heart enters your crosshairs; use a staff and fire spells; sidestep poison blobs; stand still after the heart dies.
Rewards after the solo kill
Kuldra is the final boss of Kuldra's Saga, and destroying her heart completes the decisive combat portion of the Regicide sequence. The documented guaranteed results are:
| Reward | Condition |
|---|---|
| Kuldra's Head | Always awarded in the Quest Inventory; Zilyana takes it automatically when you speak to her |
| Queenslayer's Reward Pack | Awarded after handing Kuldra's Head to Zilyana |
| Lougrim's Staff | Awarded once after completing Regicide |
Finish the dialogue and handover rather than leaving immediately after the teleport. The heart kill ends the battle, but Zilyana completes the reward flow.