
RuneScape Dragonwilds mods can expand storage, reduce repetitive resource work, improve the interface, change survival rules, add tracking tools, or overhaul equipment. The important limitation is compatibility: Dragonwilds is now on the 1.0 release line, patch timing may differ by platform, and each mod must match your installed build. A mod made for an earlier build should not be assumed to work on your current installation.
For the safest setup, choose the smallest mod list that solves a specific problem, confirm each project’s supported game version and required mod system, back up the world you care about, and test one addition at a time. The available listings include Pak, UE4SS, RuneSchema, Blueprint, and save-file projects. Those labels are not interchangeable installation instructions, so follow the directions on the individual project page instead of copying files into a guessed folder.
Understand the Current Mod Landscape
The available Dragonwilds projects cover several distinct types of changes. Start by identifying the type shown on the mod page because that determines which instructions and dependencies apply.
| Listed type | Examples in the available catalog | Typical purpose shown by those projects |
|---|---|---|
| Pak Mods | More World Settings, More Storage Slots, Keep Loot on Death | World rules, storage capacity, survival settings, and other gameplay changes |
| UE4SS Mods | XP Tracker, Mod Menu, Mini Map, Quest List | Interface additions, tracking panels, utilities, and configurable gameplay tools |
| RuneSchema Mods | RuneSchema community continuation | A modding framework or dependency used by compatible community projects |
| Blueprints | Disable Vignette | Focused visual or gameplay adjustments distributed as Blueprint projects |
| Save Files | Listed as a catalog category | Preconfigured or shared save content rather than a normal gameplay plug-in |
A trainer is another separate category. The supplied WeMod listing offers toggles such as unlimited health, stamina, items, durability, movement changes, and an experience multiplier. These are not the same thing as ordinary Pak or UE4SS projects. Treat a trainer as a broad gameplay-altering tool, especially if you want to preserve normal progression.
The prepared sources establish a PC mod ecosystem, and the trainer listing specifically identifies Windows. They do not establish a native method for installing these files directly on PlayStation 5, Xbox Series X/S, or Nintendo Switch 2. A server-side mod may affect a console player connected to that server—the Ground Items Despawn listing explicitly describes that behavior—but this does not mean the console itself can install PC mod files.
Choose Mods by the Problem You Want to Solve
A short, purpose-built list is easier to test than a large collection. Avoid installing multiple projects that rewrite the same system until you know which one should control it.
Storage, Inventory, and Crafting
Storage friction has several possible fixes, but they operate at different points in the loop:
- More Storage Slots expands supported containers such as chests, weapon racks, crates, and armor mannequins to 80 slots.
- More Personal Chest Slots expands the Personal Chest accessed through its Utility Spell to 80 slots.
- Better Linked Storage increases the effective radius of linked storage.
- Linked Storage Stations lets processing stations pull materials from linked storage chests.
- Station Feeder restocks processing stations from nearby chests instead of requiring you to carry each batch manually.
- Configurable Stacks scales item stack sizes and can optionally scale weight while preserving the relative order of the normal stack tiers.
- Wayfarer Functional 32-Slot Backpack adds a persistent 32-slot backpack by repurposing the Tattered Cape as the Wayfarer’s Pack while the mod is active.
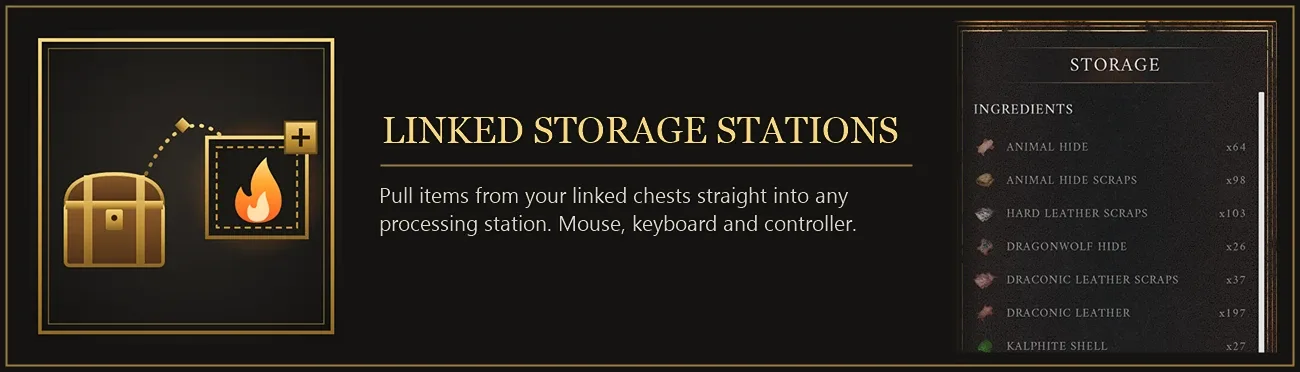
Do not install every storage mod simply because each sounds useful. More container slots, larger stacks, a wider linked-storage radius, and automatic station feeding affect different systems, but two projects may still touch shared inventory or storage behavior. Begin with the one change you actually need, verify it, and then add another.
The Wayfarer backpack deserves extra caution because its description says it repurposes an existing equipment item. Before removing that project, move important items out of the added storage and return to a normal equipment state. The supplied material does not confirm what happens to backpack contents when the mod is disabled.
Travel, Building, and World Rules
Several projects reduce routine travel or let you reshape the survival experience:
- Home Teleport – No Cooldown removes the 15-minute cooldown while retaining the spell unlock, rune cost, and casting requirements.
- No Teleportation Cost removes the cost of using Lodestones.
- Walk While Map Open lets the character continue moving while the map is displayed.
- ArchMod – Base-Disassembly Spell adds a spell intended to make dismantling and relocating a base easier.
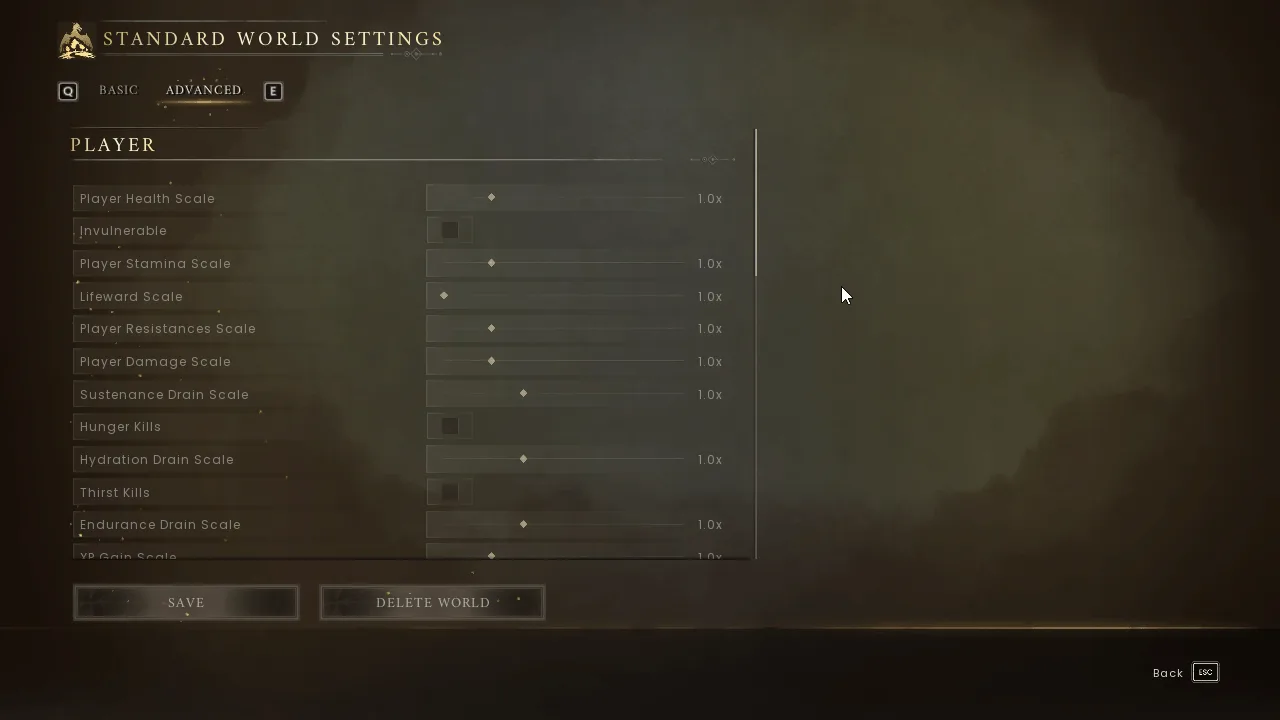
- More World Settings exposes more than 20 settings, including building stability, hunger rate, and crafting cost, through the world-settings menu regardless of world type.
- Slower Hunger and Thirst Decay reduces the rate at which those meters fall.
- Disable Hunger and Thirst stops food and water decay entirely.
- Keep Loot on Death prevents inventory from being dropped when the player dies.
- Ground Items Despawn removes dropped items after a configurable period of 1, 2, 5, or 10 minutes.
Choose either slower survival decay or fully disabled decay according to the experience you want. Installing overlapping changes to the same meter makes troubleshooting harder and may obscure which project is active. The same principle applies to teleport changes: removing a Home Teleport cooldown and removing Lodestone costs address different restrictions, so decide whether you need one or both.
Interface, Tracking, and Camera
Interface projects are a sensible starting point when you want more information without immediately changing resource yields or character power.
- XP Tracker shows experience per hour and estimated time to the next level in a panel toggled from the pause menu.
- Collection Log tracks thousands of items, creatures, recipes, building pieces, spells, and journal pages, including milestones and discovery dates.
- Quest List adds a menu showing quests and their current status.
- Mini Map adds a live minimap to the interface.
- Enemy HP Numbers adds exact health and weakness information to enemy health bars.
- Spell Casting Hotkey Bar lets you assign spells to hotkeys.
- HotbarTen adds two hotbar inventory slots, defaulting to 9 and 0, and expands the quick wheel to ten slices. Its listing also mentions a dedicated-server companion.
- Mod Menu adds a MODS entry to the pause menu and allows compatible projects to expose settings through sliders and checkboxes.
- V First Person uses the V key to toggle a first-person view.
- Clean UI removes persistent HUD elements while preserving the quick-access bar and radial selector.
- Toggle HUD – Clean Screenshots provides a HUD toggle intended for cinematic screenshots.
- Disable Vignette removes the effect that darkens the edges of the screen.
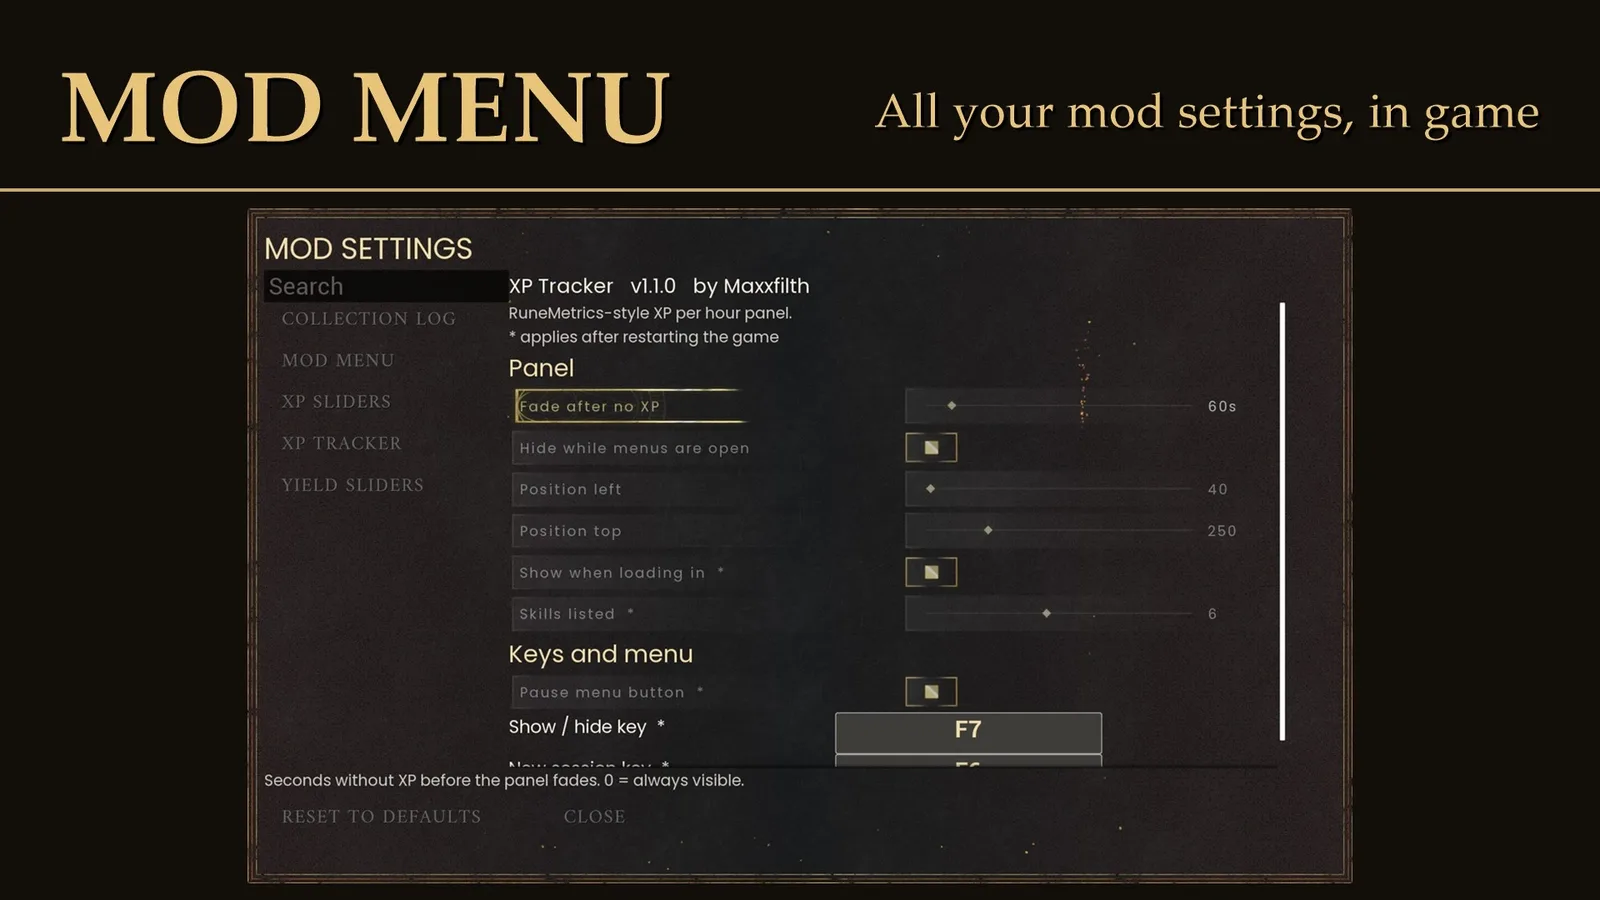
Clean UI and Toggle HUD both affect screen presentation, so do not assume they will combine cleanly. Test each independently first. The same caution applies to hotbar or control changes: confirm your keyboard, mouse, or controller bindings after installation before entering combat.
Progression and Major Gameplay Changes
Some projects alter the pace or structure of progression rather than merely improving convenience:
- XP Sliders exposes per-skill experience multipliers from 1x to 10x and can stack with the world’s XP Gain Scale setting.
- Yield Sliders provides separate 1x to 10x yield controls for Mining, Woodcutting, and Fishing while retaining the normal loot tables and excluding junk from multiplication.
- Creative Menu can spawn items, edit skill levels, and complete quests immediately.
- Staff Overhaul adds 12 staffs and changes the available magic equipment choices.
- Queenslayer’s Reward Pack Editor exposes reward probability, item-count ranges, and single-versus-multiple reward behavior.
Use these on a separate world when you are still deciding whether you want a convenience adjustment or a fundamentally different progression curve. Creative Menu and trainer options can bypass quests, skill growth, combat, or resource acquisition. Once those changes affect a valued world, simply disabling the tool may not undo completed quests, granted levels, spawned items, or altered progression.
Install Mods Without Guessing at File Paths
The supplied research confirms several mod systems but does not provide one verified installation path that applies to every project. Use this process without inventing a universal folder location:
- Confirm your game build and platform. Treat 1.0 as the baseline and check the exact build reported by your installed game. Platform patches can arrive at different times, which matters for cross-platform groups and dedicated servers.
- Read the complete project description. Identify whether the download is labeled Pak, UE4SS, RuneSchema, Blueprint, save file, launcher, or trainer. Record any required framework, companion, or server component stated by the author.
- Check the supported version. A recent upload date does not by itself prove support for your exact game build. Look for an explicit compatibility statement, recent update, or author note covering that build.
- Back up the world before changing it. Keep an untouched copy outside the active save location and verify that you can identify the correct backup. This is especially important because the current game snapshot distinguishes fixed exit-related corruption from separate missing-world cases that were still under investigation.
- Follow that project’s own installation instructions. Do not apply UE4SS directions to a Pak project or treat a save file like a normal plug-in. If the page does not state where its files belong or what it requires, leave it uninstalled rather than guessing.
- Install dependencies before the mod that needs them. RuneSchema is described as a community continuation of an open-source framework, while Mod Menu allows compatible authors to expose settings through JSON. Their presence in the catalog does not mean every mod requires them.
- Add one project at a time. Launch the game after each addition so that a failure has one clear suspect.
- Test in a disposable world first. Check loading, saving, relaunching, inventory behavior, menus, controls, and the exact feature the project claims to change.
- Move to your main world only after a clean relaunch. A mod appearing to work for one session is weaker evidence than loading, saving, closing normally, and reopening the same test world.
Do not use download totals or endorsements as a substitute for compatibility checks. A widely downloaded project can still target an older build, depend on another component, or conflict with a newer mod touching the same system.
Test the Result Before Using Your Main World
A useful test proves both the feature and the save cycle. Run the smallest test that could reveal a failure:
- For an interface mod, open the relevant menu, toggle the display, change a setting if supported, and confirm controls still work.
- For storage changes, place ordinary low-value items in the affected container, save, close the game, reopen the world, and confirm the container and its contents persist.
- For stack or weight changes, inspect a few different item tiers rather than relying on one item.
- For station-feeding mods, test one processing station and one nearby linked chest before reorganizing an entire base.
- For XP or yield multipliers, record the normal result first, apply one known setting, and compare the next action.
- For death-rule changes, use a disposable test world rather than risking your regular equipment.
- For enemy information displays, verify the added numbers or weakness text on an ordinary enemy before a difficult encounter.
A successful launch is not enough. If the feature is absent, duplicated, or inconsistent, stop adding mods. Recheck the project type, dependency instructions, game version, and configuration before changing anything else.
Keep Co-op and Dedicated Servers Predictable
Dragonwilds supports single-player, regular one-to-four-player online co-op, dedicated servers, and cross-platform play. Mods add another compatibility layer that the base game’s crossplay support does not automatically solve.
Before a shared session, agree on the game build, server build, installed projects, project versions, and configuration values. HotbarTen explicitly mentions a dedicated-server companion, while Ground Items Despawn describes itself as server-side and says console players can benefit. Those are project-specific statements, not a rule that applies to every mod.
Dragonwilds Sync is described as a free, open-source launcher that keeps one world in a shared Google Drive or Dropbox folder so different players can host it. That changes how a valuable world is synchronized. Keep a separate backup, make sure only one person is hosting or syncing at a time, and verify that the newest save has arrived before play. The supplied listing does not establish a conflict-resolution or recovery guarantee for simultaneous or interrupted synchronization.
If only one player sees a modified menu, extra hotbar slots, or a first-person option, do not assume the server is broken. First determine whether that project is client-side, server-side, or requires components on both sides according to its own instructions.
Update Mods After a Game Patch
A historical 0.7.2 troubleshooting report documented several projects breaking after a game update. It is evidence that patches can invalidate mods, not proof that those particular failures still apply to 1.0.
Use this update routine whenever Dragonwilds changes:
- Copy your working save backup and current mod list before updating anything.
- Check whether each project names the new game build as supported.
- Disable or remove unconfirmed projects according to their own instructions.
- Update required frameworks before dependent projects when the authors specify that order.
- Launch a test world with the minimum dependency set.
- Re-enable projects one at a time, saving and relaunching between meaningful changes.
- Keep the previous working downloads until the new combination passes testing, provided the project’s distribution terms allow you to retain them.
Do not assume that preventing the game from updating is a permanent solution. It can separate your client from friends, dedicated servers, or cross-platform players and leave you outside the current supported build. The safer long-term choice is to wait for confirmed compatibility or play temporarily without the affected project.
Remove a Broken or Unwanted Mod Cleanly
Removal should reverse the project’s documented installation, not delete every unfamiliar file in the game directory.
- Back up the affected world before removal, even if the mod already appears broken.
- Empty mod-added storage and unequip mod-repurposed items when possible.
- Record configuration values that you may want later.
- Follow the project’s uninstall directions for its exact package type.
- Remove the target project before removing a shared framework.
- Keep a dependency if another installed project still requires it.
- Launch a disposable world first, then test the affected save only after the game reaches the menu without errors.
When troubleshooting, remove or disable the most recent change first. If that does not restore the expected behavior, return to the last known working mod list instead of randomly deleting files. A mod that fails after a patch may need an author update; reinstalling the same incompatible version repeatedly does not establish compatibility.
For save-related symptoms, separate the problem into three questions: whether the world is visible, whether it loads, and whether new progress survives a clean exit and relaunch. Those are different failures. Do not overwrite the only backup while testing, and do not describe a world as recovered until it can be loaded and saved again.
A Low-Risk Starter Set
For a first modded setup, begin with one narrowly scoped interface project such as XP Tracker, Quest List, Mini Map, V First Person, or Disable Vignette. Confirm it supports your build, install only its documented dependencies, and complete the full save-and-relaunch test.
After that, add one convenience change that addresses your main frustration. Choose Better Linked Storage for reach, Linked Storage Stations or Station Feeder for processing logistics, More Storage Slots for container capacity, or a survival-rule project for hunger, teleportation, or death behavior. Add a progression multiplier, Creative Menu, trainer, world-sync launcher, or equipment overhaul only when you deliberately want the broader consequences.
The safest Dragonwilds mod list is not the longest one. It is the smallest set whose versions, dependencies, settings, multiplayer requirements, and save behavior you have actually verified on your current build.