
To complete Withering Heights, finish Dragon Slayer, speak to the Wise Old Man near Ashien's Watch, and enter the Forgotten Temple through the ominous door. Death and Postie Pete will send you into Fellhollow, where you must meet Cathan, collect the Curse Fragments of Despair, Rage, and Grief, and use them to open Imaru's lair at Hope's Fall. Defeat Imaru, keep one inventory space free for the final hand-in, and return her head to Death.
The three fragments can be collected in any order. Power level 5 gear, strong weapons, food, potions, and materials for several Lodestones are recommended because the route includes Green Dragons, a Zogre, undead enemies, hazardous platforming, and the Imaru boss fight.
Requirements and preparation
| Requirement | What to bring or do |
|---|---|
| Quest prerequisite | Complete Dragon Slayer before trying to enter Fellhollow. |
| Starting items | Withering Heights lists no mandatory items at the start. |
| Combat equipment | Power level 5 gear is recommended. Tier 5 steel armour and steel weapons are a practical target supported by the quest route. |
| Consumables | Bring food and health potions for the fragment routes and Imaru. |
| Travel support | Carry materials for Lodestones. The Forgotten Temple already has an active Lodestone, but placing your own near difficult objectives shortens recovery after a death. |
| Useful magic | Windstep helps with Silverthorn Keep, shrine access, and vault platforming. Fire Spirit improves visibility inside the dark vault. |
| Final inventory check | Leave at least one free main-inventory space before handing Imaru's head to Death. |
Do not spend materials on a Lodestone inside the Forgotten Temple; one is already active there. Better locations for your own Lodestones are near the top of Silverthorn Keep, outside the vault beneath the Lake of Lost Souls waterfall, and outside Imaru's tower. Treat these as recovery points rather than quest requirements.
Start Withering Heights at Ashien's Watch
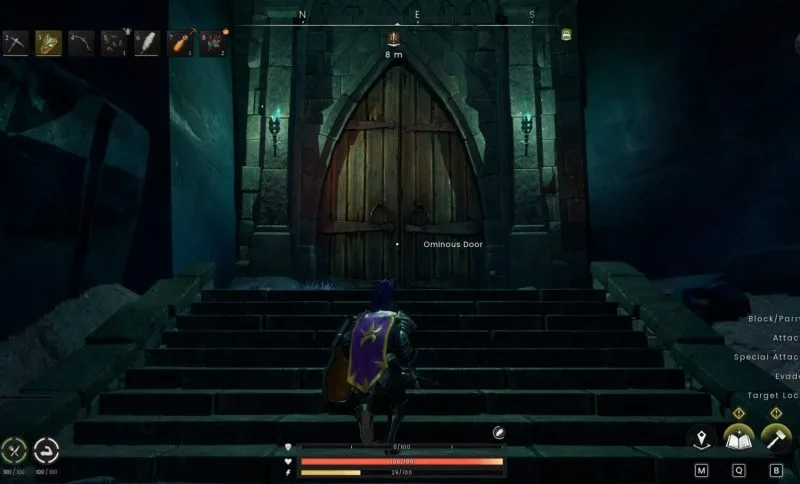
The correct door used to enter the Forgotten Temple during Withering Heights.
- Travel to Ashien's Watch after completing Dragon Slayer.
- Speak to the Wise Old Man near the passage leading down to the ominous door. He gives you the phrase needed to pass its necromantic seal.
- Interact with the door and choose Option 1, “Mors, introitum quaero!”. The other dialogue choices do not open it.
- Enter the Forgotten Temple and use its existing Lodestone as your return point.
- Go up the steps, enter the temple, and speak to Death. This begins the investigation into Fellhollow and introduces Death's Soul Fragment exchange.
- Leave through the right-hand side of the temple and speak to Postie Pete.
Postie Pete explains that the spectral door into Fellhollow is visible only while your soul is rifted. The red Wither Water provides that state, but remaining soul-rifted attracts increasingly dangerous tormented souls. Your immediate objective after passing through the door is therefore purification, not exploration or combat.
Enter Fellhollow and meet Cathan
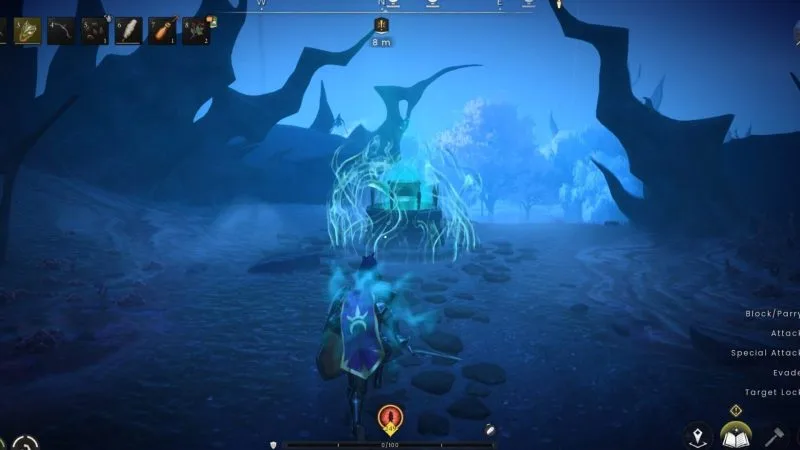
Clear the spectral tangles to reach the first purification pool.
Cross the Wither Water until you enter the Soul Rift state, then use the nearby Spectral Door. It transports you to Bleakfields Valley and triggers the first Fellhollow arrival sequence.
Move quickly along the path toward the purification fountain marked by visible blue beacons on your compass. Spectral tangles obstruct the fountain on this first visit, so strike them until they disappear and then use the fountain to cleanse your soul. Delaying this step allows stronger tormented souls to appear.
Once purified, find Cathan on a nearby cliff beside three marked stone tablets. Speak to him and examine the tablets. Their clues point to the three pieces of Imaru's curse:
| Fragment | Destination | Main obstacle |
|---|---|---|
| Curse Fragment (Despair) | Silverthorn Keep | Climb the ruined keep and defeat the Green Dragon guarding the seal. |
| Curse Fragment (Rage) | Vekchenven Kara vault beneath the Lake of Lost Souls waterfall | Navigate Soul Rift paths and traps, then defeat the Zogre. |
| Curse Fragment (Grief) | Emberwood Village | Activate the Armadyl, Guthix, Saradomin, and Zamorak shrines to remove the barrier. |
Reaching Fellhollow through the temple and Spectral Door for the first time grants permanent Fellhollow access across your worlds. The fragment objectives themselves still need to be completed for the quest.
Collect the three Curse Fragments
The fragments may be collected in any order, and the order below is not mandatory. Bank spare materials and restock between routes rather than carrying a full inventory through every objective. Keep each fragment until the lair door consumes all three at Hope's Fall.
Curse Fragment of Despair at Silverthorn Keep
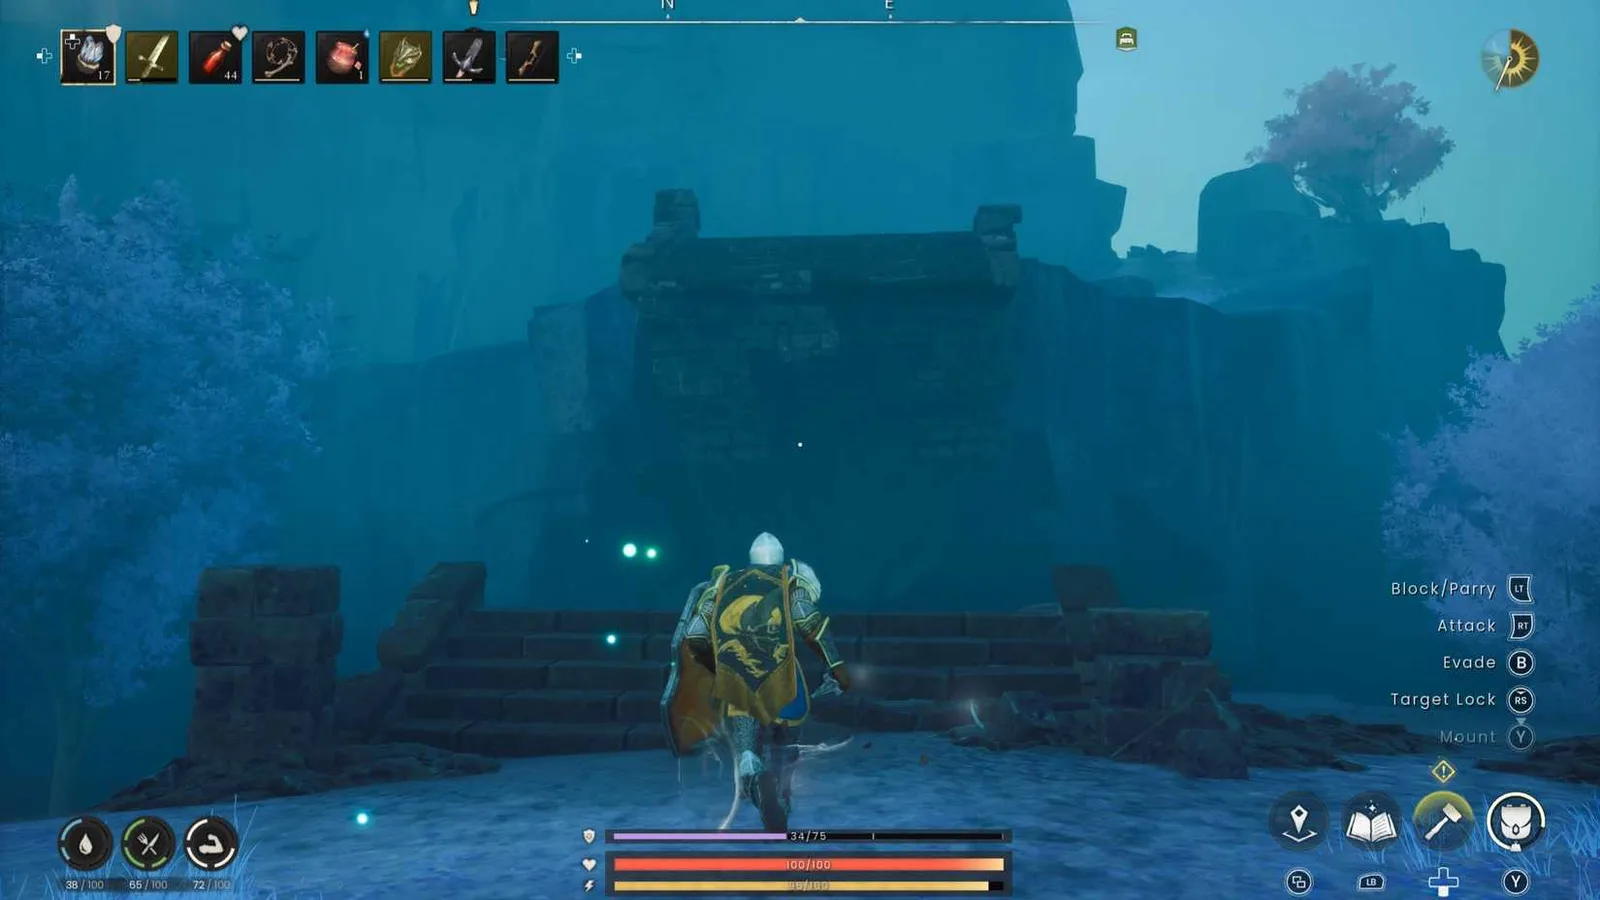
The broken staircase route toward the Green Dragon and Despair seal.
Travel east through Fellhollow and locate the broken staircases leading up Silverthorn Keep. Follow the stairs and use Windstep to cross the larger gaps and reach higher platforms. Falling is a significant risk, so time each jump instead of trying to rush the entire climb.
The keep contains rotsworn zombies, skeletal archers, rotsworn warriors, rotsworn marauders, and ordinary zombies. You can move past unnecessary fights while climbing, but establish a Lodestone near the top before challenging the guardian. This gives you a quick return route if the Green Dragon defeats you.
At the summit, defeat the Green Dragon beside the curse seal. The seal cannot be used while the dragon's power is still active, so running past it does not complete this objective. Dodge its attacks, take safe attack windows from the side, and heal rather than overcommitting to a long combination. After the dragon dies, interact with the seal to receive the Curse Fragment (Despair).
Curse Fragment of Rage beneath the Lake of Lost Souls
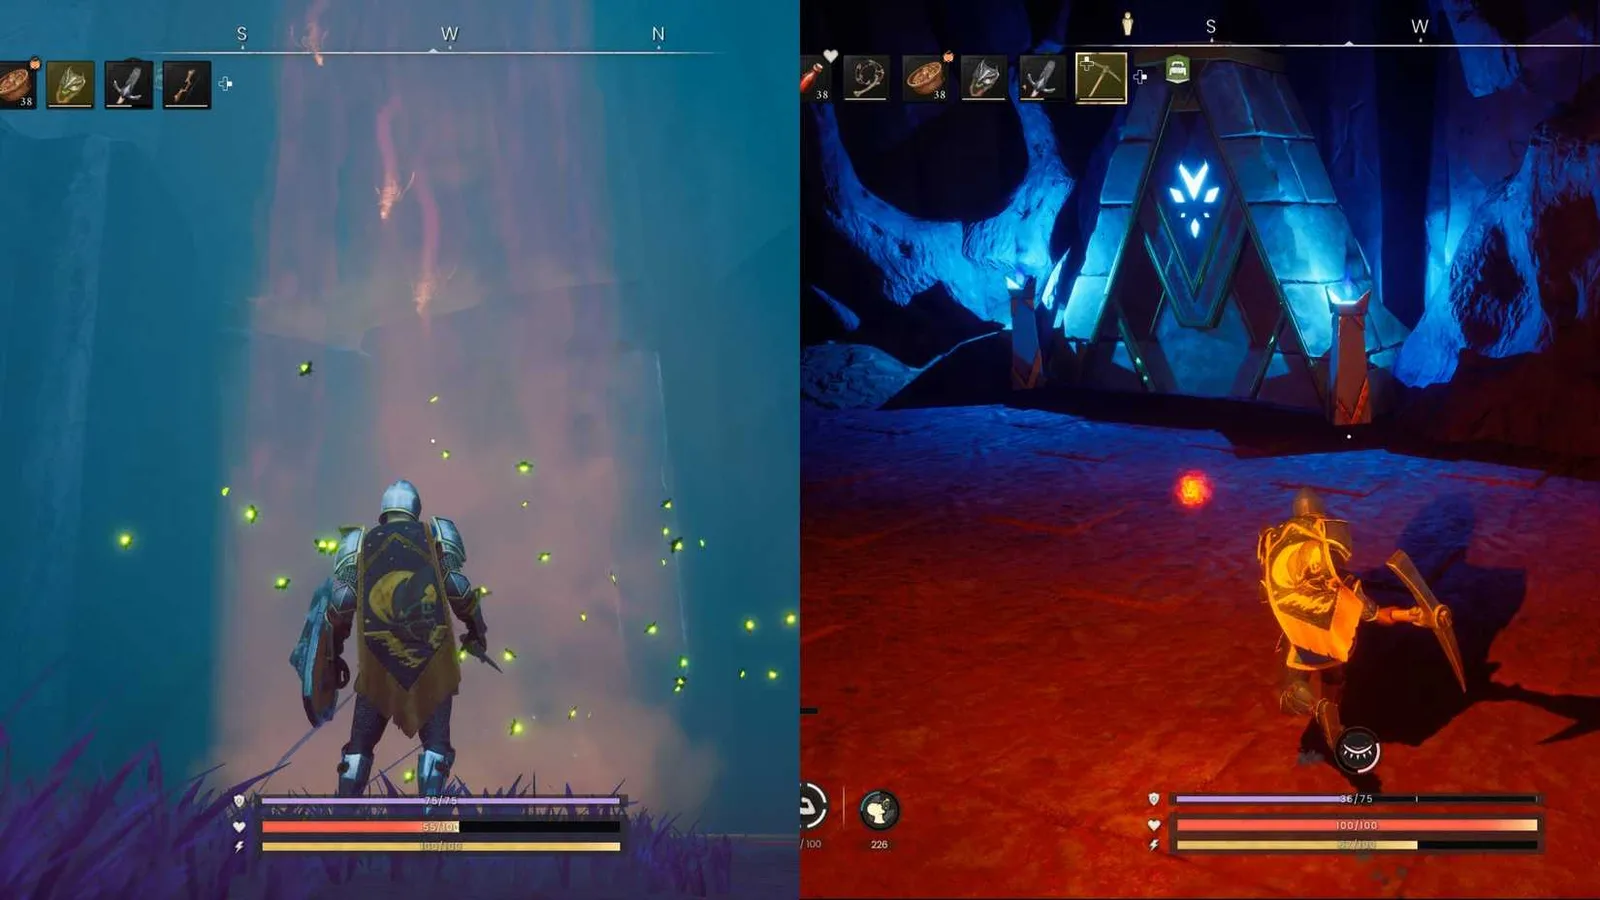
The waterfall concealing the entrance to the Rage fragment vault.
Travel toward the Lake of Lost Souls and find the red waterfall. Avoid unnecessary contact with the surrounding tainted water because it builds the Wither Rot effect. The entrance to the Vekchenven Kara vault is hidden behind the waterfall. Place a Lodestone outside before entering.
Inside the vault, Fire Spirit can provide light in the darkest corridors. The essential route alternates between deliberate Soul Rift exposure and purification:
- Descend the stairs and keep left at the early route split. Use the nearby Soulscourge to enter the Soul Rift state and reveal the spectral path across the gap.
- Cross the revealed path and use the purification pool on the far side.
- Continue until you reach the corridor containing spike and fire traps. Watch their timing and pass through in controlled movements.
- At the chamber with an inactive Spectral Door, use the Soulscourge again. Enter the door only after the Soul Rift state activates it.
- Purify after leaving the spectral section and proceed through the platforming route. Windstep helps with the wider jumps. A fall in the later platforming section can send you back to the beginning of the vault, so prioritize clean landings over speed.
- Use the next Soul Rift route to reach the final chamber and prepare before crossing into the Zogre encounter.
The Zogre uses a spinning attack, a belly-flop area attack, and a rock throw. Dodge away from the area attack and projectile rather than trying to trade damage through them. With a melee setup, a fire-enchanted sword is useful; stay close enough to punish its recoveries, make a few attacks, and disengage before the next swing. Soul-rifted enemies can add pressure if the status remains active, so maintain awareness of targets other than the boss.
Defeating the Zogre opens the locked gate. Behind it are the curse seal, a chest, and a Vault Core. Interact with the seal to receive the Curse Fragment (Rage), use the Spectral Door, and pull the lever that opens the exit route.
Curse Fragment of Grief at Emberwood Village
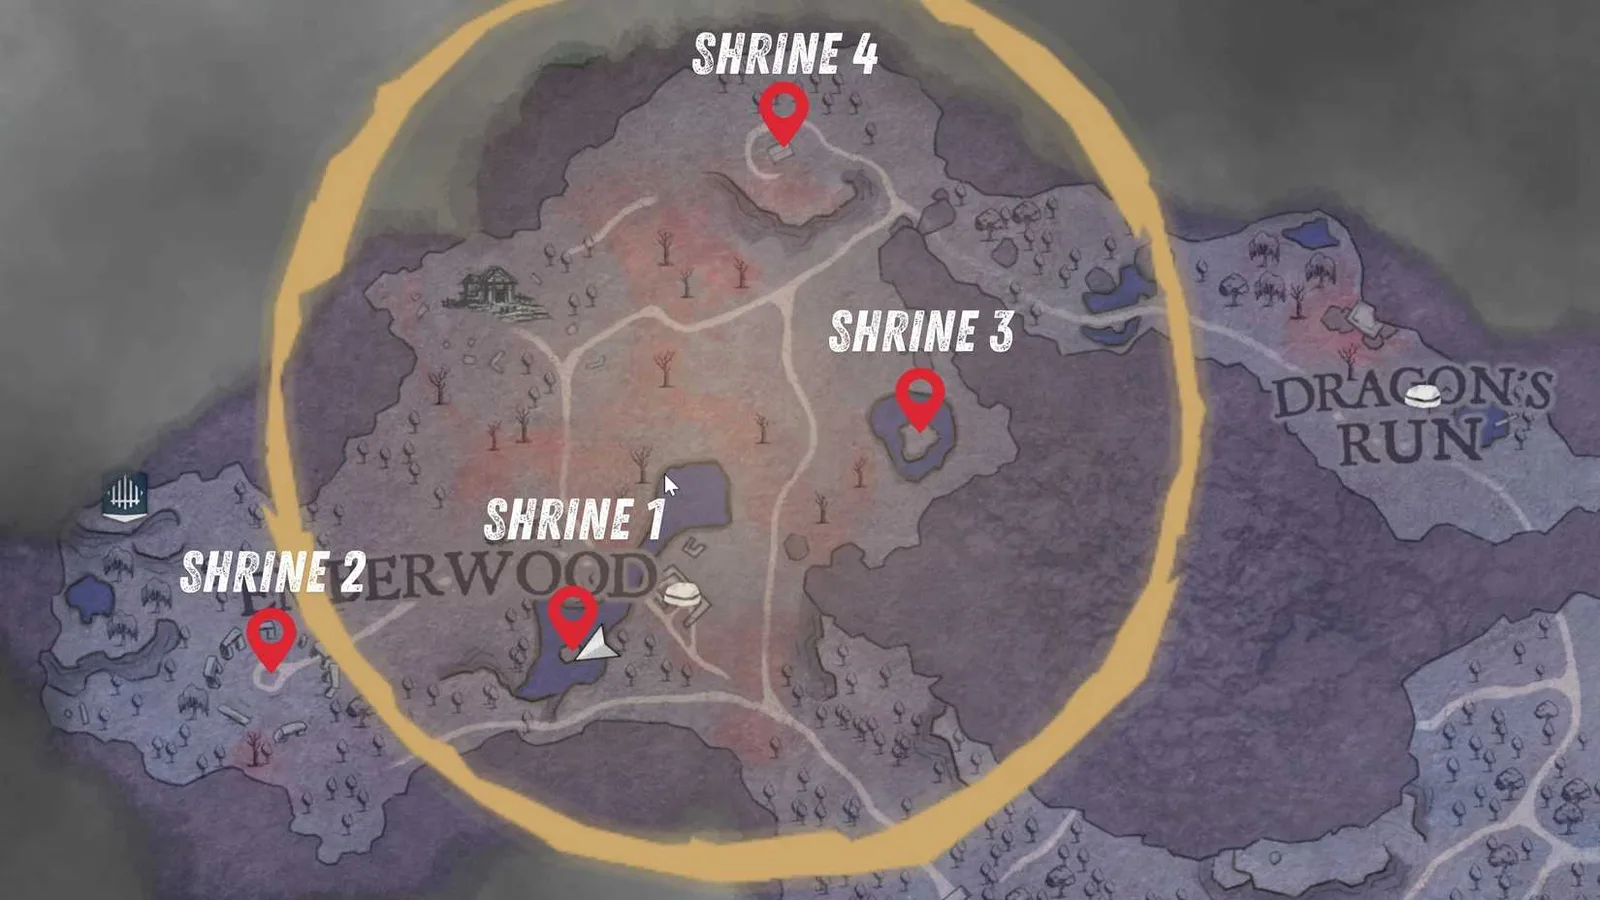
The four shrine locations needed to remove the Emberwood barrier.
Emberwood Village is enclosed by a divine barrier linked to four shrines. All four may be completed in any order, and the barrier falls only after every shrine is active.
| Shrine | Completion method |
|---|---|
| Armadyl | Judge the three ghosts at the lake and give the correct four-part verdict. |
| Guthix | Defeat the Green Dragon in the western druid circle, then interact with the shrine. |
| Saradomin | Collect the missing Saradomin Symbol below the shrine's rock, climb to the pedestal, and repair it. |
| Zamorak | Use Windstep to enter the nearby temple through its roof, activate the shrine, and pull the lever to open the exit gate. |
For the Armadyl shrine, speak to the three ghosts before delivering your verdict. Select these answers in order:
- Option 3 — There was a mass murder.
- Option 2 — Because they thought it was funny.
- Option 3 — The snickering ghost.
- Option 3 — They found it too funny, matching the motive.
The Guthix shrine remains unusable until its nearby Green Dragon is dead. Defeat the dragon in the druid circle and then pray at the shrine.
For the Saradomin shrine, locate the broken statue piece below the raised shrine and pick up the Saradomin Symbol. Make sure the relevant inventory has room for it. Use Windstep to reach the pedestal and interact with it to repair the shrine.
For the Zamorak shrine, find the temple near a purification pool. Reach the roof with Windstep, enter from above, activate the shrine inside, and use the nearby lever so you can leave through the gate.
After all four shrines activate, the Emberwood barrier disappears. From the purification pool near the Zamorak temple, look west for the curse seal. Reach it, interact with it, and take the Curse Fragment (Grief). In a fresh world, the shrine statues may need to be activated again even if you have previously completed the quest elsewhere.
Defeat Imaru at Hope's Fall
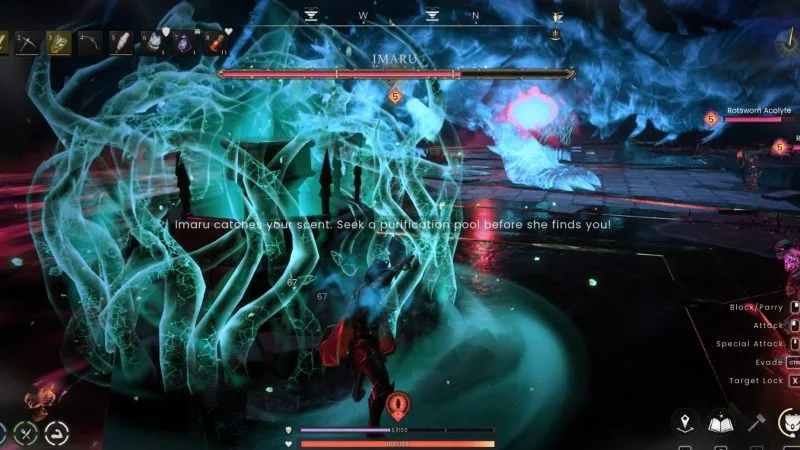
Imaru's Spectral Mode phase and the nearby purification pool.
With Despair, Rage, and Grief in your inventory, travel to the tower at the centre of Hope's Fall. Place a Lodestone outside, restore your health, equip your best gear, and fill empty consumable slots with food and potions. Do not enter expecting the three fragments to survive: the door consumes their curse when it opens.
Interact with the seal on Imaru's lair and choose Option 1, “Unleash the curse!”. If the door refuses to open, confirm that all three fragments are currently in your inventory.
The arena contains Soulscourge and four purification pools. Imaru alternates between ordinary combat and spectral sequences, so the central rule is to use Soul Rift when the boss becomes spectral and cleanse yourself once that job is complete.
Ordinary combat phases
Wait for Imaru to land before committing to melee attacks. Dodge the spit attacks while she is moving, and roll through or away from the body slam before returning to the chest area. The heart region is the useful damage point while she is grounded.
Later in the fight, Imaru moves toward the centre and adds foot stomps. Dodge the stomp, then attack the legs during the grounded opening. In the final portion she combines stomps with fire breath, so remain ready to move even while attacking. When an outer ring of fire appears, stay in the safe central area and use the pause to heal or refresh buffs.
Spectral combat phases
When Imaru enters Spectral Mode, step into the Soulscourge and remain there until you are fully soul-rifted. You can then damage the spectral boss and knock her down. Treat this as a required mechanic rather than an optional damage window.
After the knockdown, move to a purification pool and cleanse yourself. Rot enemies appear during these sequences; defeat them before returning your attention to Imaru so they do not accumulate across phases. Prioritize the Rotsworn Acolyte when it is present. Repeat the same Soulscourge, knockdown, purification, and add-clearing sequence each time Imaru becomes spectral.
Watch your health throughout the transition because the boss can attempt to recover by devouring souls. Use healing items before you are in immediate danger. The fight ends after the final spectral knockdown and the remaining ordinary-phase damage. Imaru then drops Imaru's head.
Turn in Imaru's Head and collect the rewards
Keep Imaru's head and return to Death in the Forgotten Temple. Speak to him with at least one free space in your main inventory. If your inventory is full, Death will not complete the hand-in until you make room.
Completing Withering Heights awards the Withering Heights reward pack and the quest's listed rewards:
- Tome of the Undying
- Undead draconic visage
- Dragoncurse shield
- Access to the Dragoncurse shield masterwork recipe
Withering Heights also clears the prerequisite for Black Knight's Fortress.
Common progression blockers
- The door near Ashien's Watch does nothing: Speak to the Wise Old Man first and select Option 1 with the correct phrase.
- The first Fellhollow fountain cannot be used: Destroy the spectral tangles surrounding it before attempting to purify.
- The Silverthorn Keep seal is inactive: Defeat the Green Dragon guarding the Curse Fragment of Despair.
- The vault's spectral routes are invisible: Enter the Soul Rift state through Soulscourge, cross the revealed path or door, and purify at the next pool.
- The Rage seal remains locked: Defeat the Zogre at the end of the vault.
- The Guthix shrine cannot be activated: Kill the Green Dragon in the nearby druid circle first.
- The Saradomin shrine is still broken: Pick up the missing Saradomin Symbol below the rock and interact with the upper pedestal while carrying it.
- The Armadyl shrine rejects the verdict: Use the sequence mass murder, amusement as the motive, the snickering ghost, and excessive amusement as the evidence.
- The Emberwood barrier remains: Verify that Armadyl, Guthix, Saradomin, and Zamorak are all active. A fresh world can require the statues to be activated again.
- Imaru's lair will not open: Carry all three Curse Fragments and choose Option 1 at the seal.
- Death will not finish the quest: Confirm that Imaru's head is present and free one main-inventory space for the reward.