
The supplied Wiki snapshot lists 21 urns. A separate map index lists 22 markers; those markers have not been established as 22 distinct collectible urns. The route below follows the Wiki snapshot, and its total still needs a live source check.
The supplied 1.0 Wiki snapshot lists 21 Sanguine Urns across Ashenfall in RuneScape: Dragonwilds. Interacting with an urn permanently adds 10 health to your total health pool. Collecting the complete set raises the potential maximum health to 310.
The easiest way to find most urns is to use their icons on the world map. When you move within roughly 50–60 meters, the icon also appears on the compass. The important limitation is verticality: several urns are inside caves, below the marked surface position, or behind late-game traversal and puzzle routes. None of the urns are inside vaults.
What Sanguine Urns Do
A Sanguine Urn is an interactable piece of scenery containing the blood of Lougrim. Each urn provides a permanent 10-point increase to your total health pool. The increase persists after death and follows your character into other worlds, including dedicated servers.
This makes the collection useful beyond simple completion. The earlier urns provide extra survivability before entering more dangerous regions, while the final urns reward progress through the late-game Scorned Wilderness route. You do not need to carry the urn or craft anything after finding it; interact with it once to receive the health increase.
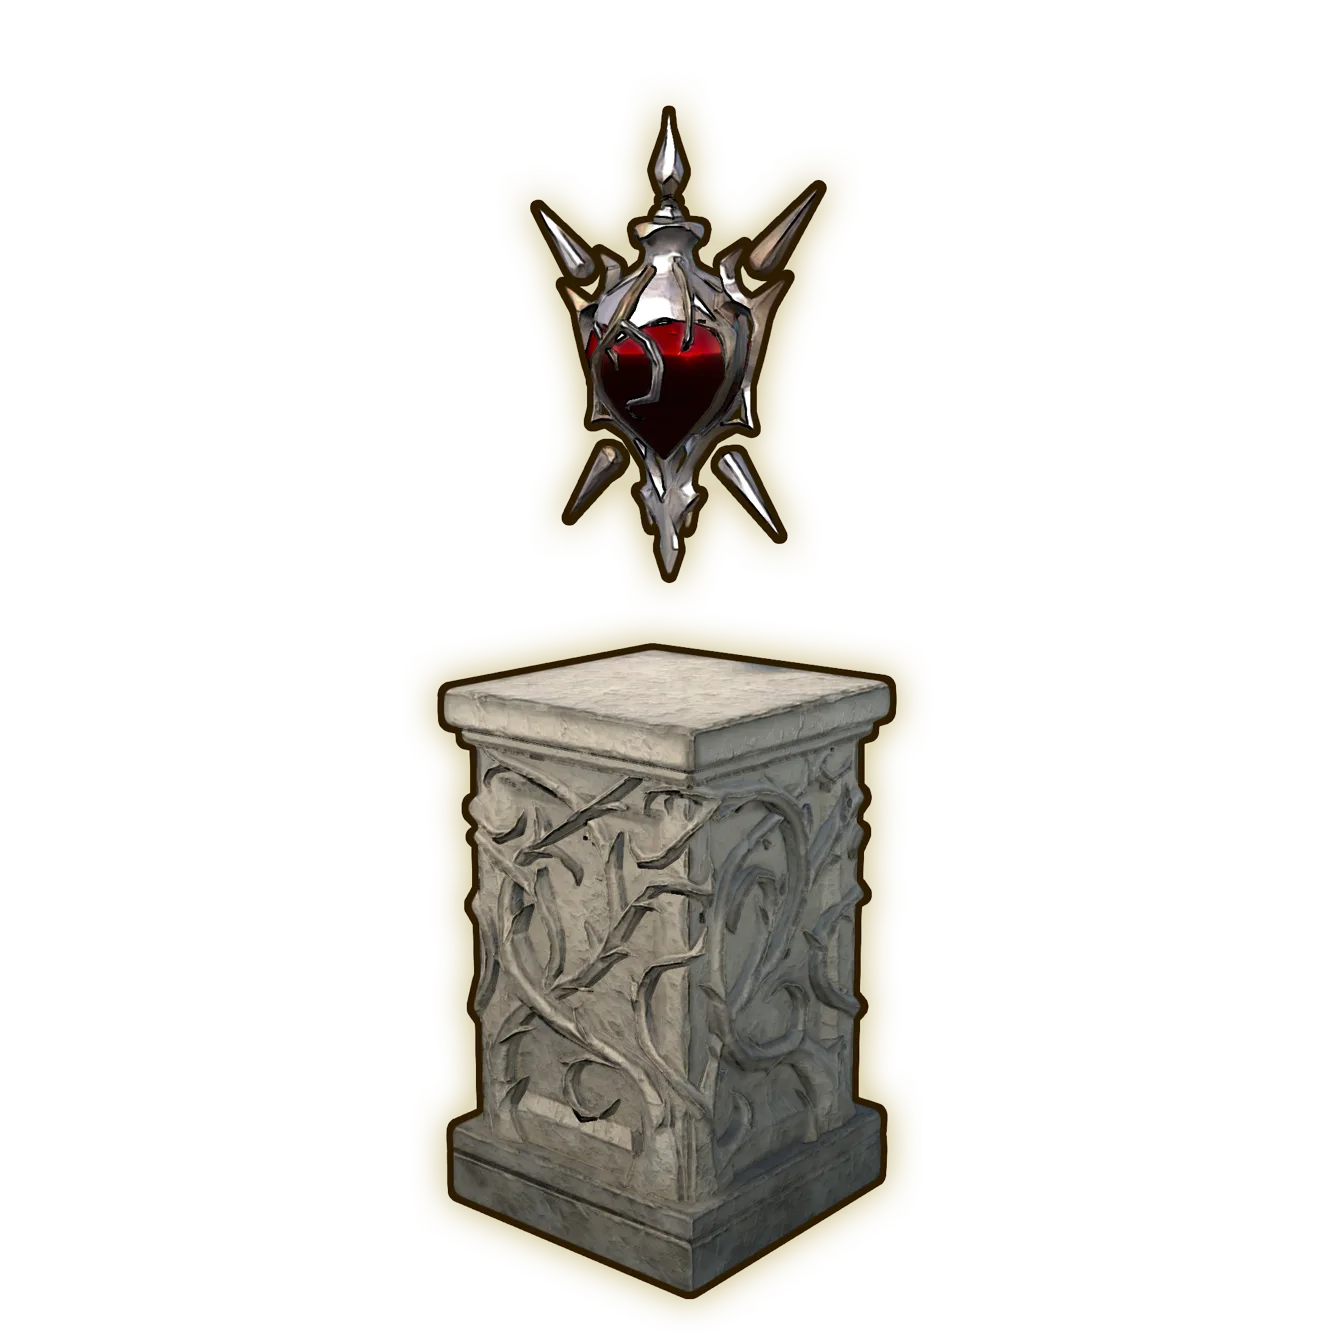
The Sanguine Urn item appearance.
The health increase is permanent, but the urns are distributed across regions with very different danger levels. The first eighteen can be organized as regional map sweeps. The last three are tied to the Scorned Wilderness route and require substantially more progress than the open-world urns.
All 21 Sanguine Urn Locations
Use this table as the master checklist. The counts are especially useful when your map still shows an urn but the marker appears to be above or below you.
| Region | Sub-region | Urns | Running total | Important location note |
|---|---|---|---|---|
| Brynmoor | Bramblemead Valley | 3 | 3 | Follow the three world-map icons through the valley. |
| Brynmoor | Whispering Swamp | 3 | 6 | One misleading marker leads into a Garou cave below the surface. |
| Ghornfell | Fractured Plains | 1 | 7 | One urn appears in this sub-region. |
| Ghornfell | Stormtouched Highlands | 1 | 8 | Prepare for the dangerous enemies around the highlands before following the marker. |
| Ghornfell | Bloodblight Swamp | 1 | 9 | One urn appears in this sub-region. |
| Fellhollow | Emberwood | 1 | 10 | One of the three Fellhollow urns is reached through a small mining cave. |
| Fellhollow | Hope's Fall | 1 | 11 | Check the marker's elevation before searching the surface. |
| Fellhollow | Silverthorn Keep | 1 | 12 | The urn is tucked near a small rocky gate in the keep area. |
| Dowdun Reach | The Grand Hall | 1 | 13 | Search around the Grand Hall landmark and follow the local compass marker. |
| Dowdun Reach | The Garrison | 1 | 14 | The surrounding route can be dangerous, so arrive equipped rather than attempting an unprepared sprint. |
| Dowdun Reach | The Menagerie | 1 | 15 | The third Dowdun Reach urn is associated with the Menagerie area. |
| Umbral Sands | Alcarrid Oasis | 1 | 16 | One of three urns spread across Umbral Sands. |
| Umbral Sands | The Burning Spire | 1 | 17 | Some Umbral Sands markers require climbing or building up to elevated rocks. |
| Umbral Sands | Manafem Plains | 1 | 18 | Use the map and compass together while checking the surrounding elevation. |
| Scorned Wilderness | Fragments of Ghornfell | 2 | 20 | One is behind a pylon-controlled door; the other is reached through the castle and sewer route. |
| Scorned Wilderness | Cataclysm Keep | 1 | 21 | The final urn is near the elemental-pylon section before Kuldra Sanctum. |
The table records every supported regional count without pretending that a surface marker is an exact entrance. If you have cleared a sub-region but your total is short, revisit the cave and underground checks before assuming the marker is broken.
How to Track an Urn from the Map
The map and compass provide enough information for the straightforward urns, but they work best when used as a two-stage search tool.
- Open the world map and identify the Sanguine Urn icon in the region you are clearing.
- Place a marker or approach the icon from the nearest available travel point.
- Watch the compass as you enter the approximate 50–60-meter detection range.
- Compare the compass direction with the terrain instead of walking directly toward the horizontal marker.
- If you appear to be standing on the location, check for a nearby cave entrance, a lower ledge, an underground passage, or an elevated route.
- Interact with the urn and confirm that your total health has increased by 10.
- Compare your regional collection with the checklist before leaving for the next region.
Do not enter a vault merely because its entrance is close to a marker. Sanguine Urns can be underground, but the current set does not place them inside vaults. A nearby natural cave or regional passage is the better place to investigate.
Hidden and Difficult Sanguine Urns
Most urns can be reached by following their map icons. The following locations cause the most confusion because the correct route does not match the apparent surface position.
Whispering Swamp Garou Cave
The troublesome Whispering Swamp marker can appear to be roughly 21 meters below the player. It is not a broken urn and is not reached from the surface directly above it.
Move down into the swamp below the marker. When facing toward the marked position, search to the left for a cave containing a Garou. This is the same cave used during the Goblin Diplomacy quest. Enter the cave and continue toward the compass marker to reach the urn.
This location illustrates the main rule for the entire collection: a compass marker gives direction, not a guaranteed surface path. If the distance stops improving while you are standing over the icon, move outward and look for an entrance that descends beneath it.
Fellhollow Mining Cave
One Fellhollow urn is inside a small mining cave rather than on open ground. Follow the relevant regional marker toward the nearby path, then look for the cave entrance instead of climbing directly over the icon. Once inside, use the compass to finish the short approach.
The Fellhollow set also includes the Silverthorn Keep urn. That urn is tucked near a small rocky gate, so inspect the edges of the keep area when the compass says you are close. The terrain can hide the urn even when no long underground route is required.
Dowdun Reach Landmarks
Dowdun Reach contains three urns, divided among The Grand Hall, The Garrison, and The Menagerie. Treat these as three separate landmark searches rather than trying to clear the entire region from one marker.
Travel preparation matters here because the route can place you near dangerous enemies. Use established travel points where available, carry recovery supplies, and approach each landmark independently. The Grand Hall urn is around the front of that landmark, while the Garrison and Menagerie icons identify the other two searches.
Elevated Umbral Sands Urns
Umbral Sands contains one urn each in Alcarrid Oasis, The Burning Spire, and Manafem Plains. The three map icons remain the primary guide, but at least some of these urns sit on elevated rock formations.
When the marker is above you, inspect the sides of the formation for a climbable route. Building upward can provide another way to reach a difficult ledge when the terrain does not offer a convenient approach. Do not begin the Umbral Sands sweep without suitable gear and supplies for the region; reaching the marker can be more dangerous than interacting with the urn itself.
Scorned Wilderness Urn Route
The final three urns are not a normal open-world sweep. Two are in Fragments of Ghornfell, and the last is in Cataclysm Keep near the end of the route toward Kuldra Sanctum.
First Fragments of Ghornfell Urn
After passing the dragon-tail vines in the Scorned Wilderness route, descend the small ramp into Fragments of Ghornfell. Move toward the Earthma pad, charge the nearby pylon, and use the resulting access to open the door containing the first urn.
Be alert around the elevated exterior area. A black dragon and ruby vine enemies can be nearby, so clear or avoid the immediate threats before stopping at the pylon and door.
Second Fragments of Ghornfell Urn
The second urn is behind a gated door connected to the castle's lower sewer route. Progress through the castle until you reach the descent and the passages leading toward the sewer system.
The safer route uses the upper approach before descending in smaller steps. Dropping directly from excessive height can kill you, so use the available ledges rather than attempting one large jump. Continue into the sewer, move through the narrow opening, and activate the elevator with its switch.
Use the levers along this route to open the required doors. After moving through the sewer encounters and returning to the upper section, follow the opened path down to the second urn.
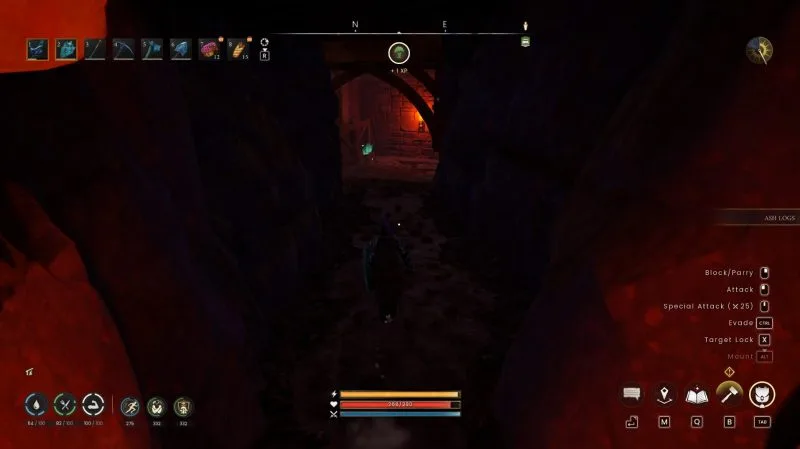
The elevator-and-lever traversal section in Fragments of Ghornfell.
Cataclysm Keep Urn
Continue to Cataclysm Keep and advance toward the final puzzle area before Kuldra Sanctum. The last Sanguine Urn is in the section associated with the four elemental pylons. Complete the local traversal and parkour route to enter the room containing it.
This should be the twenty-first urn if every earlier regional count is complete. If it is not, compare your remaining total against the table rather than immediately retracing the entire Scorned Wilderness route.
A Practical Collection Order
The following order keeps the checklist organized without claiming that one route is universally fastest:
- Collect the three Bramblemead Valley urns.
- Clear all three Whispering Swamp urns, including the Garou cave.
- Take the single urns from Fractured Plains, Stormtouched Highlands, and Bloodblight Swamp.
- Clear Emberwood, Hope's Fall, and Silverthorn Keep in Fellhollow.
- Visit the Grand Hall, Garrison, and Menagerie in Dowdun Reach.
- Collect the three Umbral Sands urns from Alcarrid Oasis, The Burning Spire, and Manafem Plains.
- Finish with the two Fragments of Ghornfell urns and the Cataclysm Keep urn in Scorned Wilderness.
Lodestones can reduce the travel time between widely separated regions. A mount also makes the open-world sweep easier, but neither changes the cave entrances or puzzle paths needed for the hidden urns. Use these travel options where already available rather than delaying the collection to unlock unrelated systems.
Preparation for the Full Run
The urn interaction has no listed material cost, but the route crosses areas with very different enemy strength and environmental pressure. Before leaving for a long sweep, bring the equipment and recovery supplies appropriate to the most dangerous region you plan to enter.
Useful preparation includes:
- repaired combat equipment for routes near aggressive enemies;
- food and water for long travel segments;
- enough runes or travel resources to use established lodestones;
- building materials if you intend to construct a way onto an elevated Umbral Sands formation;
- spare carrying capacity so unrelated loot does not interrupt the route;
- a region-by-region checklist to prevent unnecessary backtracking.
You can collect the early urns before attempting the late-game areas. The health bonuses persist, so there is no need to save the interaction until all 21 are accessible.
Troubleshooting a Missing Urn
If an icon appears to be unreachable, use this sequence before treating it as a bug:
- Check whether the marker is above or below your current elevation.
- Walk away from the exact surface point and search the surrounding terrain for a cave entrance.
- In Whispering Swamp, return to the Garou cave associated with Goblin Diplomacy.
- In Fellhollow, check the small mining cave and the rocky gate around Silverthorn Keep.
- In Umbral Sands, inspect elevated rocks and possible building approaches.
- In Scorned Wilderness, confirm that the relevant pylon, lever, elevator, gate, or parkour route has been used.
- Do not search nearby vault interiors, because the urns are not located in vaults.
- Recount the urns by sub-region instead of relying only on your memory of the route.
A complete collection contains 6 urns in Brynmoor, 3 in Ghornfell, 3 in Fellhollow, 3 in Dowdun Reach, 3 in Umbral Sands, and 3 in Scorned Wilderness. Those regional totals add up to 21. With every urn activated, the listed potential maximum health is 310, and the permanent increases remain active after death and when joining other worlds.