
To complete Goblin Diplomacy in RuneScape: Dragonwilds, speak to Zanik on the ridge in Bramblemead Valley, recover one Bandosian amulet from either the Outlook Ruins or the Adventurer's Guild, investigate the location you did not loot, then descend to the bottom of Whispering Swamp and defeat the garou druid for the second amulet. Return both amulets to Zanik to finish the quest and receive the goblin war banner.
The important route choice happens at the first reliquary. Both locations contain an amulet, but you can loot only one of them; the amulet at the other location is taken by the garou druid. Starting with the Outlook Ruins is the simpler supported route because its reliquary is tucked into a corner, while the guild reliquary is blocked by thorny vines, requires 20 Woodcutting and a logging axe, and sits in the more dangerous of the two goblin-occupied areas.
Requirements and preparation
Goblin Diplomacy is a secondary quest with Rune Mysteries as its prerequisite. The logging axe and level 20 Woodcutting requirement is conditional, not universal: it matters only if you decide to obtain the first amulet from the Adventurer's Guild reliquary. A steak is also optional. It lets one of the caged goblins reveal the precise location of the nearby reliquary before you have collected an amulet, but you can find either reliquary without paying that bribe.
| Type | Requirement or item | How it affects the route |
|---|---|---|
| Quest prerequisite | Rune Mysteries | Complete this before starting Goblin Diplomacy. |
| Conditional requirement | 20 Woodcutting and a logging axe | Needed to cut the thorny vines blocking the Adventurer's Guild reliquary if you loot that reliquary first. |
| Optional shortcut | One steak | Give it to the relevant caged goblin before obtaining an amulet to learn the exact nearby reliquary location. |
| Return-trip shortcut | A lodestone placed near Zanik | Makes the final return to the quest giver easier after you collect both amulets. |
| General supplies | Food, water, health potions, good armour, and a suitable weapon | Both search areas contain multiple goblins, and the final cave contains a strong garou druid. |
| Druid preparation | Anti-poison potions | The garou druid can inflict potent poison. |
| Ranged option | A ranged weapon or magic | Distance is recommended for the garou druid; magic is specifically useful for attacking from range. |
| Mobility option | Air runes for Windstep | Recommended for the journey, though the supplied quest information does not make them a completion requirement. |
Do not turn the conditional items into a delay if you plan to use the ruins-first route. You do not need 20 Woodcutting to take the Outlook Ruins amulet, and you do not need a steak to find a reliquary. The supplies that matter across every route are the ones that keep you ready for goblins, travel, and the poisoned final fight.
Start Goblin Diplomacy at Zanik
Find Zanik on the ridge in Bramblemead Valley and speak with her. She senses a prophecy in two directions: the Outlook Ruins lie to the north-east of her position, while the Adventurer's Guild lies to the south. Goblins occupy both places. Your immediate objective is to investigate these two locations and recover the pair of Bandosian amulets tied to the prophecy.
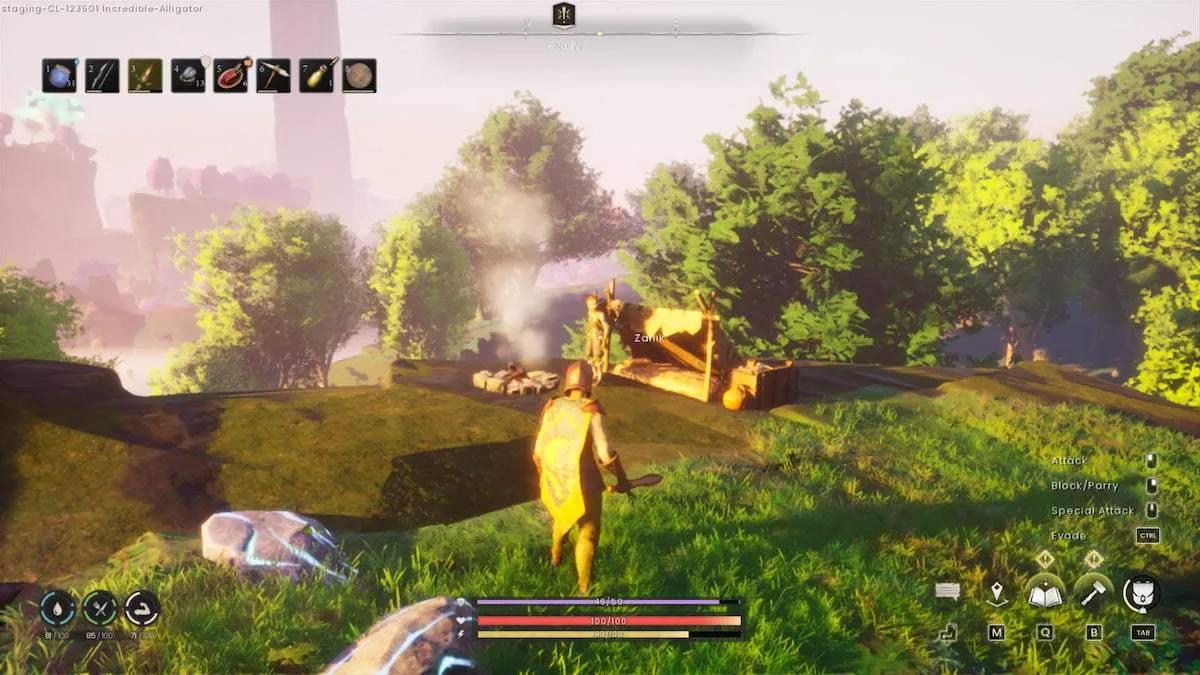
Zanik’s campsite marks the Goblin Diplomacy starting point.
Place a lodestone at Zanik's location before leaving if you can. The quest ends by bringing both amulets back to her, so this turns the final leg into a direct fast-travel return instead of another trip across the area. This placement does not change the reliquary choice or the fight; it simply prepares for the known final destination.
From Zanik, you may visit either search area first. The order determines which reliquary you can loot, but it does not prevent completion. Your first location supplies the first amulet. At the second location, the nearby caged goblin directs you toward the enemy holding the other one.
Choose the first Bandosian amulet
The two opening routes lead back into the same quest sequence, but their entry conditions are different.
| First location | Reliquary access | Nearby caged goblin | Main tradeoff |
|---|---|---|---|
| Outlook Ruins | The reliquary is tucked away in a corner. | Bilegut | Recommended first choice because the reliquary has no supplied Woodcutting gate. |
| Adventurer's Guild | Thorny vines block the reliquary, so you need 20 Woodcutting and a logging axe. | Wormelbow | This area contains more goblins and is described as more dangerous. |
Recommended Outlook Ruins route
Travel north-east from Zanik to the Outlook Ruins. The area is overrun with goblins, so enter with your combat and recovery supplies ready. Search the corners of the ruins for the reliquary and loot the first Bandosian amulet.
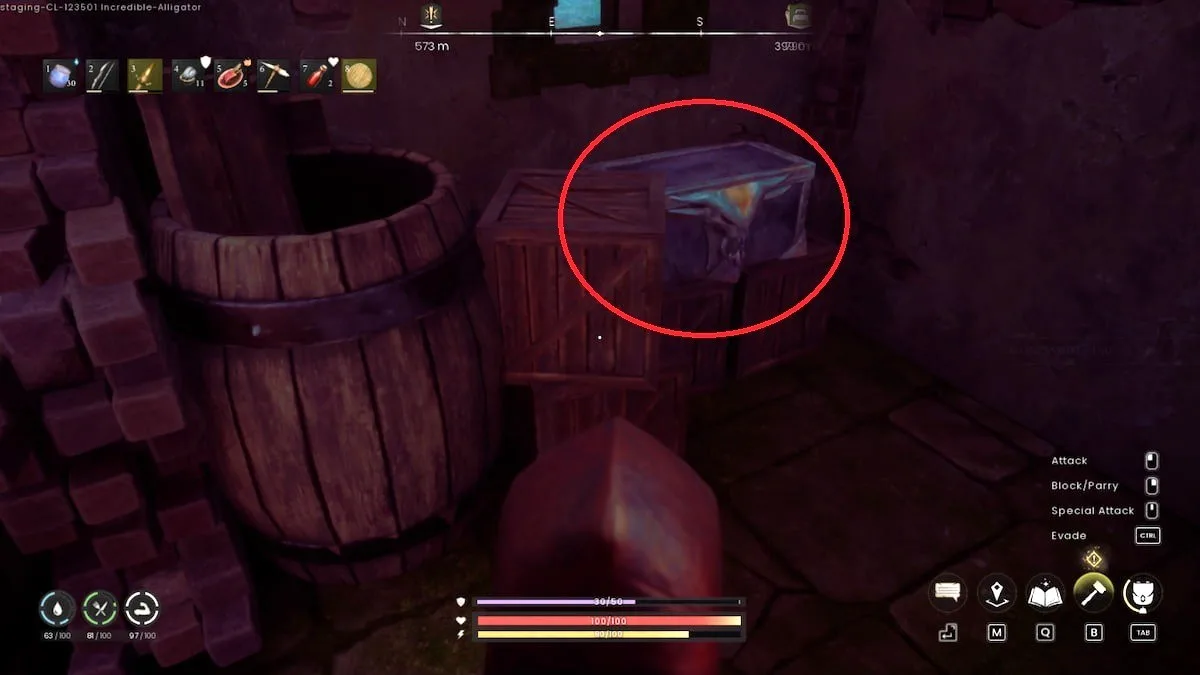
The reliquary is tucked into a shadowed corner of the ruins.
Bilegut is caged outside the ruins. Before you obtain an amulet, you may give Bilegut one steak to learn the reliquary's exact location. This exchange is a convenience, not a prerequisite. If you can locate the tucked-away reliquary yourself, keep the steak and continue.
Once you have taken the ruins amulet, do not search the Adventurer's Guild expecting to loot its reliquary as well. Only the first reliquary yields an amulet. Your next task at the guild is to locate Wormelbow, clear the goblins immediately around the cage, and ask what happened to the second amulet.
Alternative Adventurer's Guild route
Travel south from Zanik to the Adventurer's Guild only if you are prepared for its access gate. Bring a logging axe and make sure your Woodcutting level is at least 20. Cut through the thorny vines blocking the guild reliquary, then recover the first Bandosian amulet.
The guild has more goblins than the ruins, which is why the ruins-first route is recommended. You do not need to change the overall quest plan if you nevertheless choose the guild. Wormelbow is caged outside this location and, before you collect an amulet, can reveal the exact guild reliquary location in exchange for a steak. As at the ruins, the bribe is optional.
After looting the guild reliquary, the Outlook Ruins becomes your investigation location rather than a second loot stop. Go there, find Bilegut outside, clear the goblins near the cage, and speak with Bilegut to learn where the missing amulet went.
Investigate the location you did not loot
Whichever reliquary you chose first, go next to the opposite location:
- If you took the amulet from the Outlook Ruins, head to the Adventurer's Guild and find Wormelbow.
- If you took the amulet from the Adventurer's Guild, head to the Outlook Ruins and find Bilegut.
- Defeat the goblins around the relevant cage. You do not have to eliminate every goblin throughout the entire location.
- Speak with the caged goblin after the immediate area is clear.
- Learn that a garou-beastman took the second Bandosian amulet to a cave in Whispering Swamp.
This is the point where the two opening routes fully converge. A common route-reading mistake is to keep hunting the second site's reliquary for another lootable amulet. The quest information establishes that only one reliquary can be looted; the second amulet has moved. Once the caged goblin gives you the swamp lead, leave the search area and follow that lead rather than continuing to sweep the ruins or guild.
Descend to the bottom of Whispering Swamp
The cave holding the second amulet is at the very bottom of Whispering Swamp. Reaching the correct vertical level is the key navigation condition. Go down into the swamp safely first, then begin searching for the cave entrance from the lower area.
If you appear to be at the cave's map position but cannot find an entrance, check your elevation before assuming the location is wrong. Running across the upper ground above the cave will not bring you to its doorway. Return to the route that leads down, reach the swamp floor, and search from there.
This navigation step is separate from the final combat check. Finding the correct lower area gets you to the entrance; it does not remove the need to prepare for the garou druid inside. Before entering, make sure the food, water, combat equipment, and poison protection you brought have not been exhausted by the earlier goblin encounters.
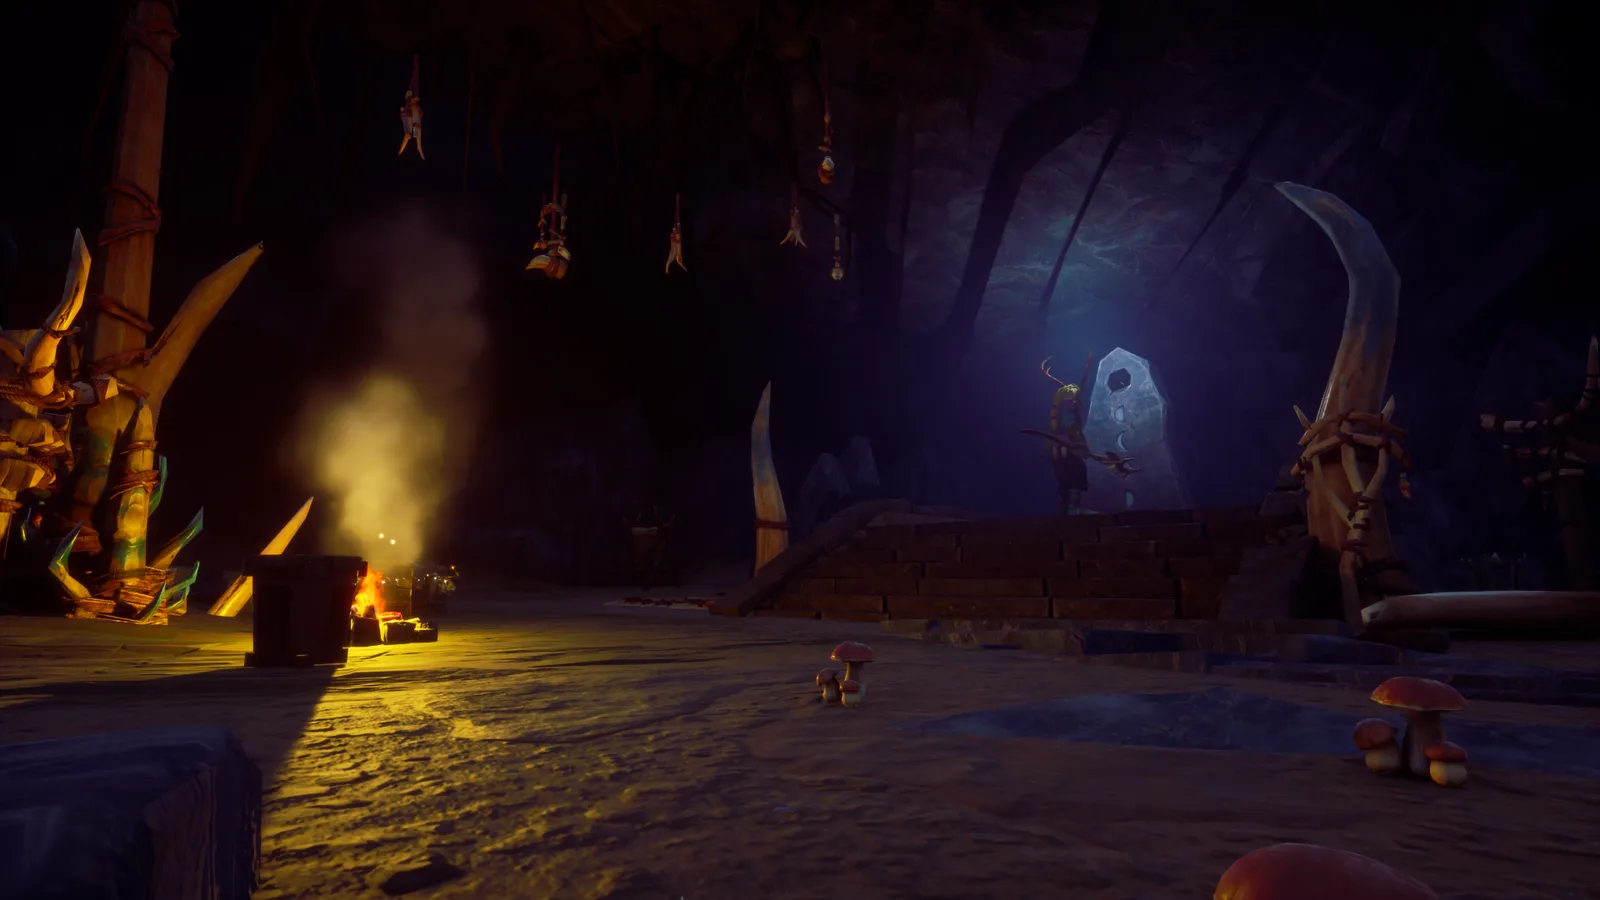
This cave entrance leads to the Garou druid encounter.
Enter the cave only after you are ready to fight. The second Bandosian amulet is obtained from the garou druid, not from another reliquary or from an unguarded container.
Defeat the garou druid
The garou druid is the final required enemy and is stronger than the ordinary goblins encountered earlier. It can inflict potent poison and attack with poison thorns. The supported safer approach is to fight from a distance, with magic specifically recommended, while dodging the thorns.
Use this fight plan:
- Equip the good armour and ranged or magic option you prepared before entering the cave.
- Keep your distance instead of treating the encounter like another close-range goblin fight.
- Watch for the poison thorns and dodge them rather than absorbing repeated hits.
- Use anti-poison protection for the druid's potent poison.
- Maintain your food and health supplies through the fight.
- Defeat the garou druid and collect the second Bandosian amulet it drops.
The supplied information recommends ranged or magic for this encounter but does not specify a mandatory weapon, armour set, spell, or stat threshold. Do not postpone the quest in search of an unsupported exact loadout. The concrete preparation targets are good equipment, a way to attack at range, anti-poison potions, and enough food and water to arrive ready.
If the fight goes badly, separate the likely cause from the navigation work you already completed. Poison pressure points to anti-poison preparation; damage taken while closing in points toward using the recommended distance; hits from poison thorns point toward dodging them. You do not need to repeat either reliquary search merely because the cave fight requires another attempt.
Return both amulets to Zanik
After the garou druid falls, confirm that you have obtained the second Bandosian amulet. You should now be carrying the amulet from your first reliquary and the one recovered from the druid. Return to Zanik on the ridge in Bramblemead Valley. If you placed a lodestone at her location before setting out, use it to shorten this final return.
Speak with Zanik and hand over both Bandosian amulets. This completes Goblin Diplomacy. Zanik rewards you with the goblin war banner.
Quick completion checklist
Use this condensed route to verify that no quest-critical step was skipped:
- Complete Rune Mysteries before starting.
- Speak with Zanik on the Bramblemead Valley ridge.
- Place a lodestone near Zanik for the eventual return.
- Choose the Outlook Ruins for the recommended first reliquary, or use the Adventurer's Guild if you have 20 Woodcutting and a logging axe.
- Optionally give one steak to Bilegut or Wormelbow before taking an amulet if you want the exact nearby reliquary location.
- Loot the first Bandosian amulet from your chosen reliquary.
- Travel to the location you did not loot.
- Clear the goblins around its caged goblin and speak with that goblin.
- Descend to the bottom of Whispering Swamp instead of searching from the ground above the cave.
- Enter the cave prepared for poison, dodge the garou druid's poison thorns, and attack from range.
- Take the second Bandosian amulet from the defeated druid.
- Return both amulets to Zanik and receive the goblin war banner.